You should make some tooling around auto syncing with crontab (comes with MacOS) and put it in a repo. You could make it really easy for people to set up. But just for now explain the process of setting it up in very simple steps
Very simple, 3 main steps:
Step 1: Create Repos
Remote GitHub Repo
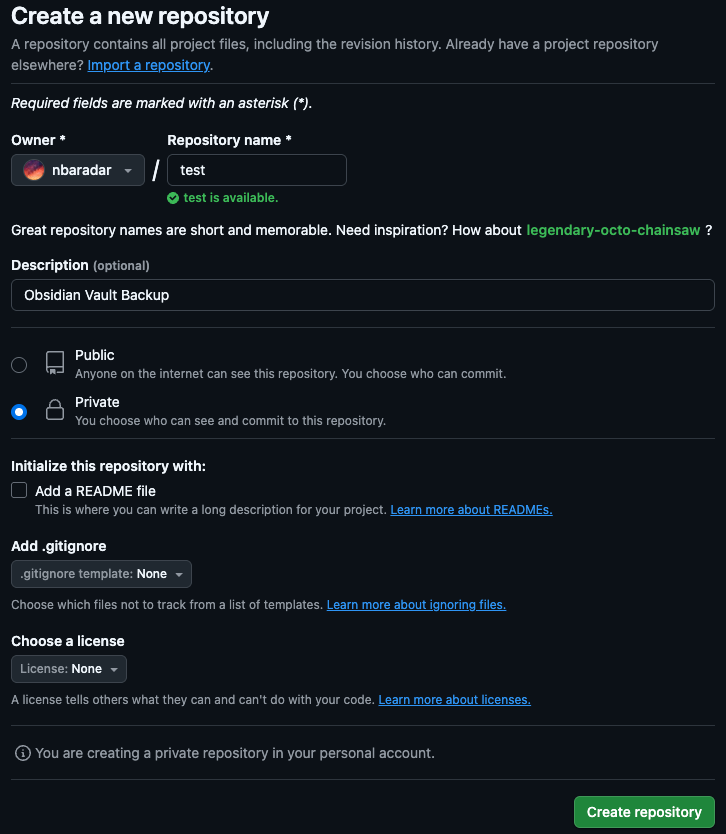
First, go to GitHub.com and create an empty repository for your Obsidian Vault. I’d suggest naming it the same thing as your vault, but you don’t have to. I am using the name test for this guide. You’ll also want to set it to private if desired. No need for a README needed unless you specifically want one.
Local Git Repo
Next all you need to do is initialize a local git repo in your obsidian vault location. For instance, I store my Obsidian vaults in my iCloud:
pwd
/Users/naderbaradar/Library/Mobile Documents/iCloud~md~obsidian/Documents

ls
context_core_obsidian_vault	quartz-vault
nader_obsidian_vault		test
personal_projects
From here, you can simply cd into the vault you want to backup (I chose my test vault), and then issue a git init from that location:
naderbaradar@Naders-MacBook-Air ~ % cd "/Users/naderbaradar/Library/Mobile Documents/iCloud~md~obsidian/Documents/test"
naderbaradar@Naders-MacBook-Air test % git init
hint: Using 'master' as the name for the initial branch. This default branch name
hint: is subject to change. To configure the initial branch name to use in all
hint: of your new repositories, which will suppress this warning, call:
hint:
hint: git config --global init.defaultBranch <name>
hint:
hint: Names commonly chosen instead of 'master' are 'main', 'trunk' and
hint: 'development'. The just-created branch can be renamed via this command:
hint:
hint: git branch -m <name>
Initialized empty Git repository in /Users/naderbaradar/Library/Mobile Documents/iCloud~md~obsidian/Documents/test/.git/
Step 2: Connect Local/Remote Repos
Then connect your remote GitHub repo with your local initialized Git repo. So go back to your repo in GitHub (mine happens to be at https://github.com/nbaradar/test) and then copy your remote repo URL.
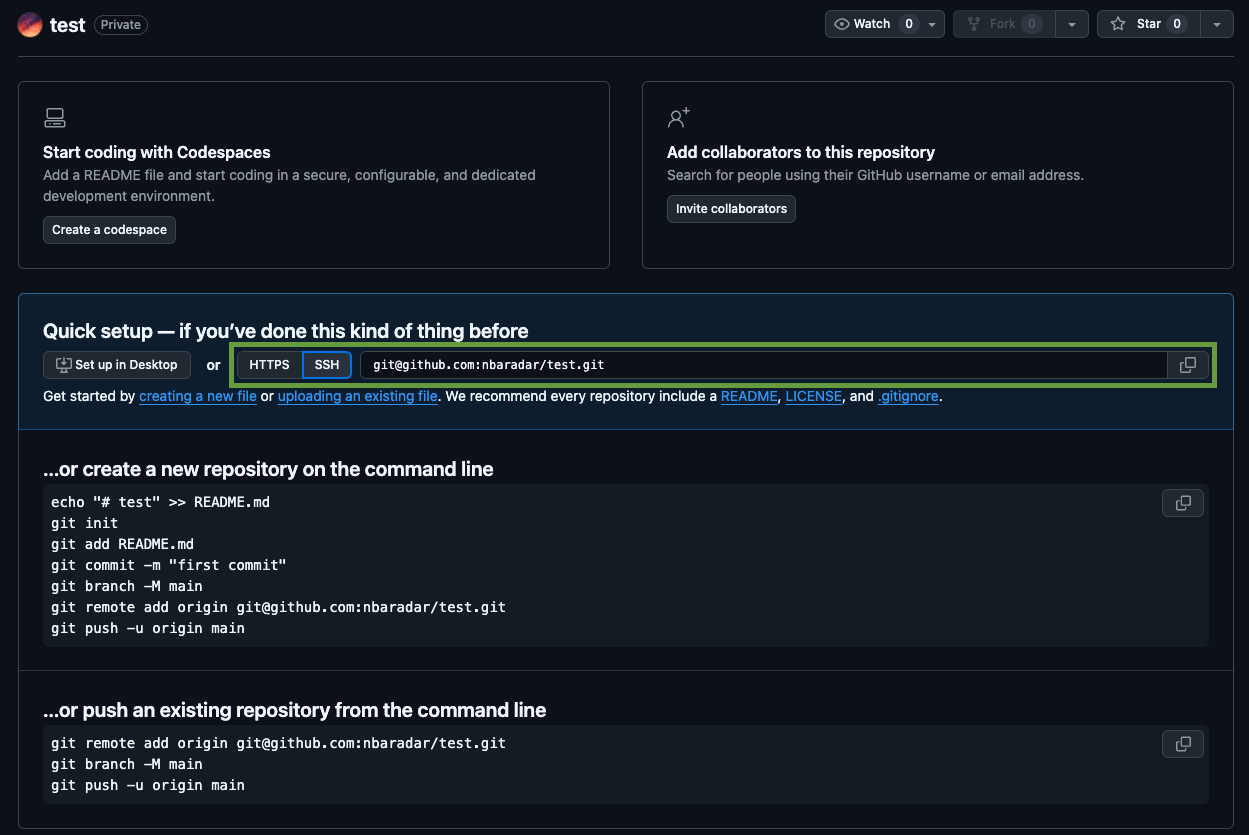
I highly suggest you use SSH for better security
And then add it to your local git repos “Remotes”
- Issue
remote addcommand - Check that it worked with
remote -vcommand
naderbaradar@Naders-MacBook-Air test % git remote add origin git@github.com:nbaradar/test.git

naderbaradar@Naders-MacBook-Air test % git remote -v
origin git@github.com:nbaradar/test.git (fetch)
origin git@github.com:nbaradar/test.git (push)
Step 3: Push from Local to Remote
Finally it’s time to issue your first push. I’ll just create a sample .md file and show you how you would sync it with your Github repo:
naderbaradar@Naders-MacBook-Air test % touch sample.md
naderbaradar@Naders-MacBook-Air test % ls
sample.md

naderbaradar@Naders-MacBook-Air test % git status
On branch master

No commits yet

Untracked files:
  (use "git add <file>..." to include in what will be committed)
.DS_Store
.obsidian/
sample.md

nothing added to commit but untracked files present (use "git add" to track)

naderbaradar@Naders-MacBook-Air test % git add --a
naderbaradar@Naders-MacBook-Air test % git commit -m "My first commit!"

git push --set-upstream origin master
Enumerating objects: 9, done.
Counting objects: 100% (9/9), done.
Delta compression using up to 8 threads
Compressing objects: 100% (6/6), done.
Writing objects: 100% (9/9), 1.90 KiB | 1.90 MiB/s, done.
Total 9 (delta 0), reused 0 (delta 0), pack-reused 0 (from 0)
To github.com:nbaradar/test.git
 * [new branch]      master -> master

branch 'master' set up to track 'origin/master'.
Remember for Github, the steps are...
- Stage your changes
- Commit your staged changes
- Push your commits
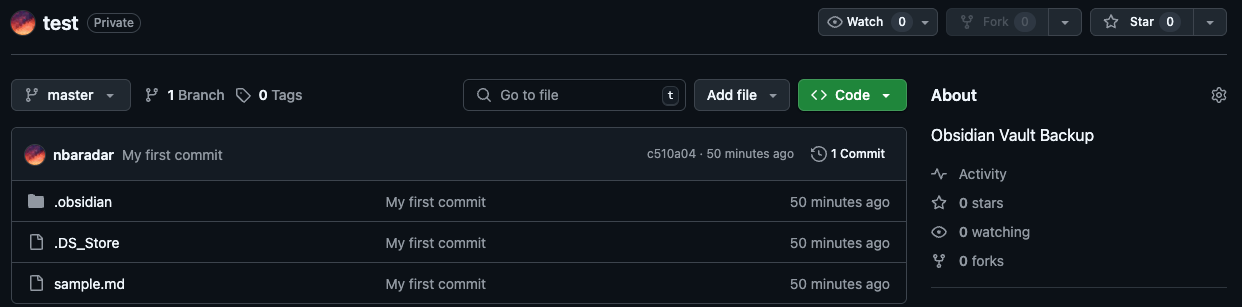
And that’s it! You now have an Obsidian vault that is being tracked by Git and backed up to GitHub. This will also give you a changelog showing your history of changes, which can be very useful when organizing notes.
Next you’ll want to sync your vault at regular intervals that you choose.