To skip to actual instructions skip to section 3
Preparing the Virtual Machine Hard Drive
Installing Omarchy on a VM is kind of a bitch since they don’t provide a real ISO image.
It’s actually a raw disk/USB image mislabeled .iso, meant to be written 1:1 to a USB stick. That’s why VMware Fusion fails: it’s not a CD image.
For this reason, you need to install qemu first. You can either download from their site or just use homebrew to install it.
Using homebrew is as simple as: brew install qemu
Afterwards, let’s use qemu to convert the “ISO” image into a VMware-compatible disk. Navigate to where your disk image lives and run this command:
qemu-img convert -f raw -O vmdk omarchy-3.0.1.iso omarchy-3.0.1.vmdkAfterwards you should see a omarchy-3.0.1.vmdk file (or whatever you end up naming it) in the location you ran the command from.
Running on VMWare Fusion
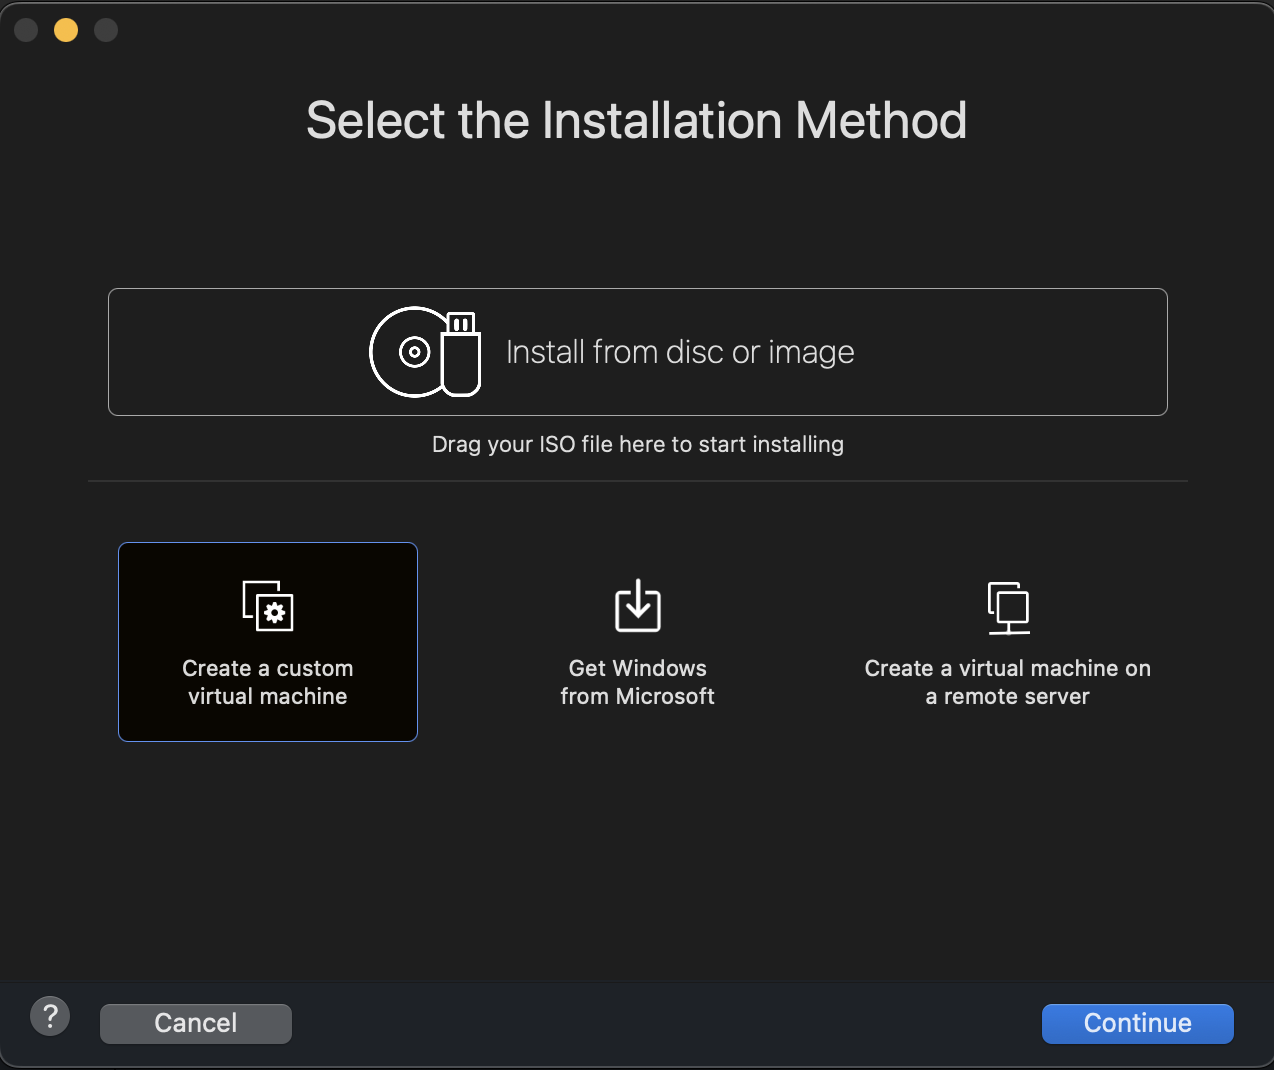
Then, open VMWare Fusion and click on the “Create a Custom Virtual Machine” option and follow along:
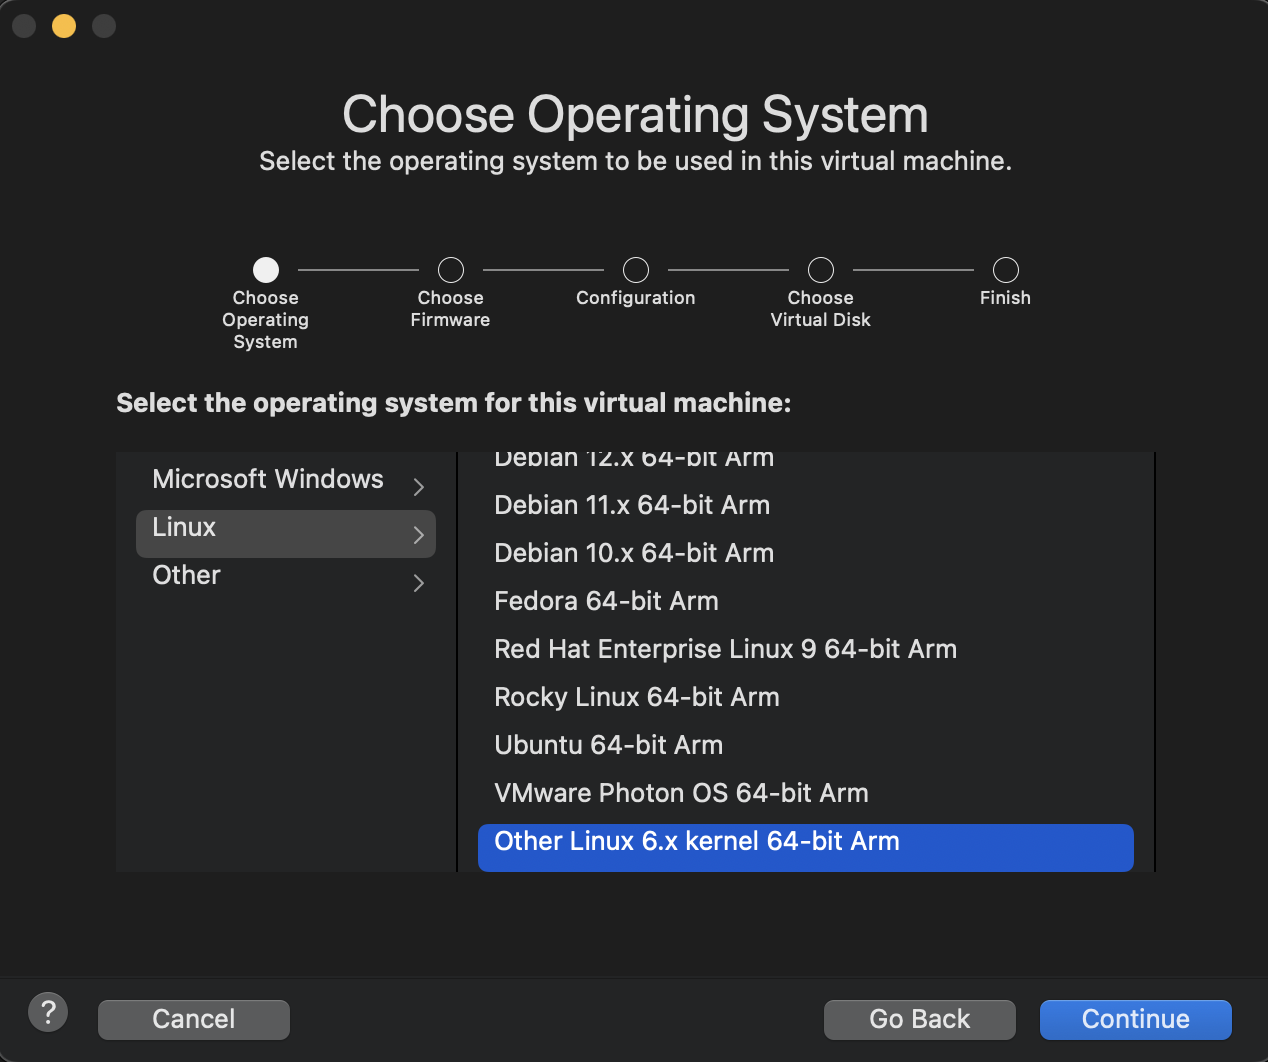
For the OS you can choose “Other Linux 6”
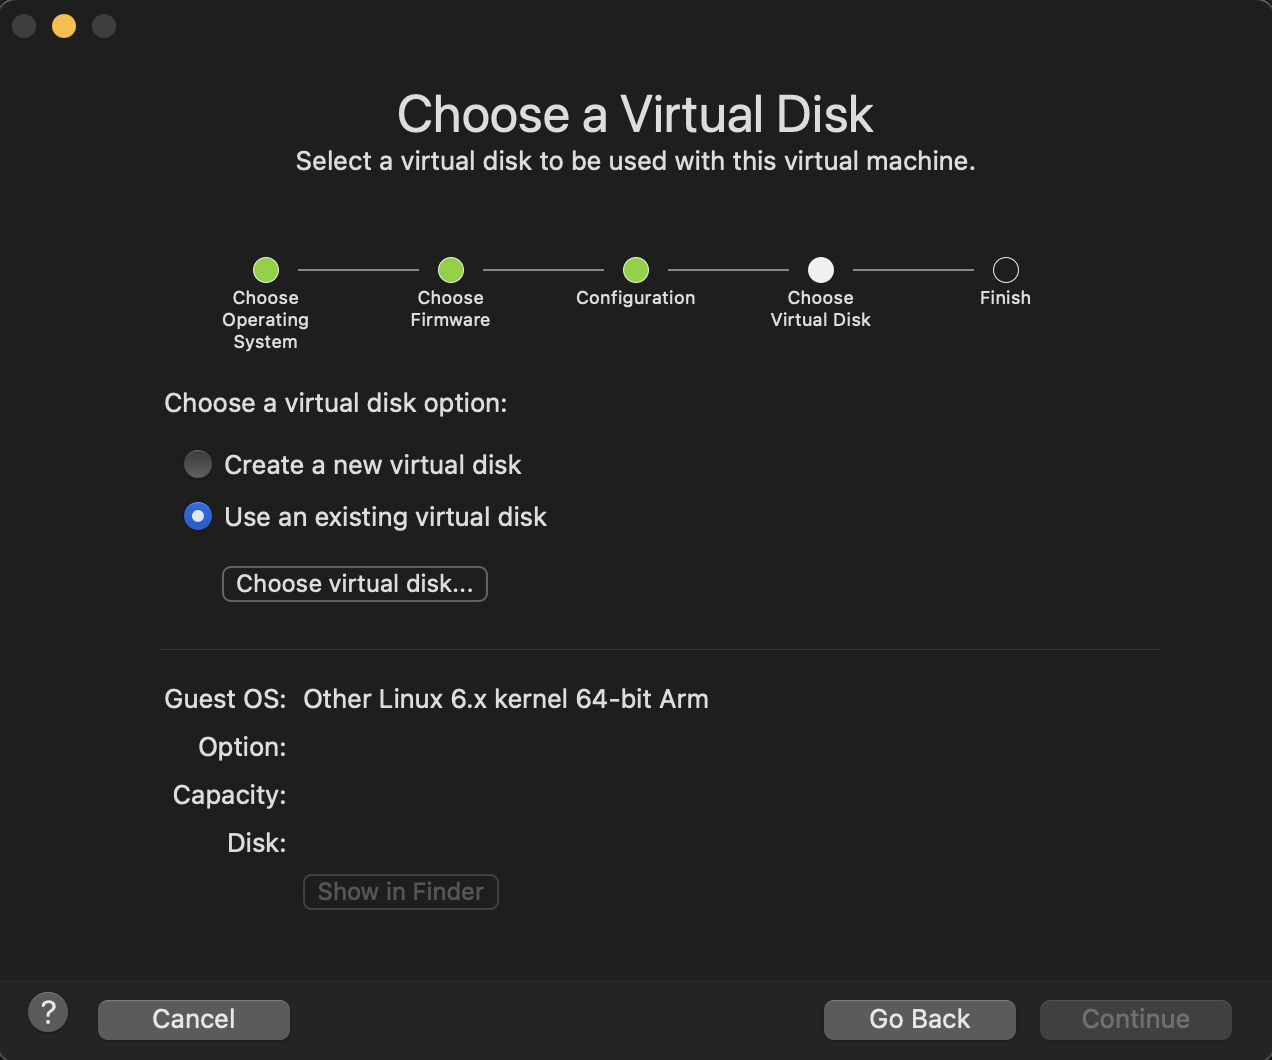
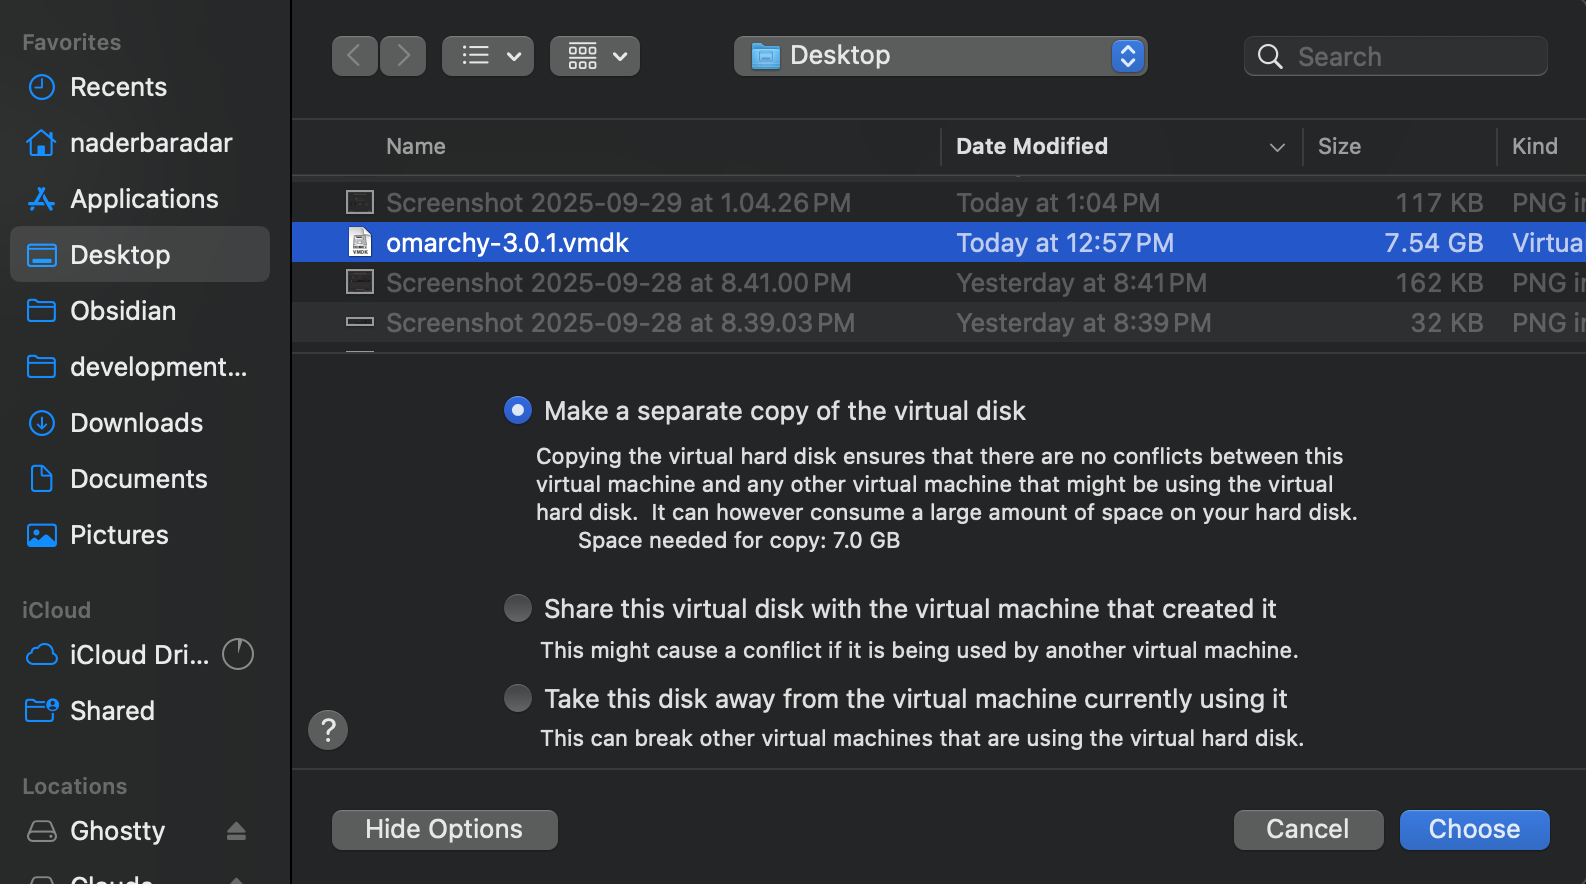
Then for the Virtual Disk make sure you select the one we just created
Wow it still didn’t work. This is because Apple silicon only supports UEFI firmware, whereas I need legacy BIOS firmware to run Omarchy.
Running with UTM/QEMU
Alright the only option left is to try running it with UTM/QEMU on macOS. It’s the easiest way on mac to boot BIOS-only images.
Only because now I’m being stubborn and just want to get it figured out for the sake of figuring it out. I bet I won’t even like Omarchy but that’s not the point any more.
First install UTM from their site, it’s basically a GUI for QEMU
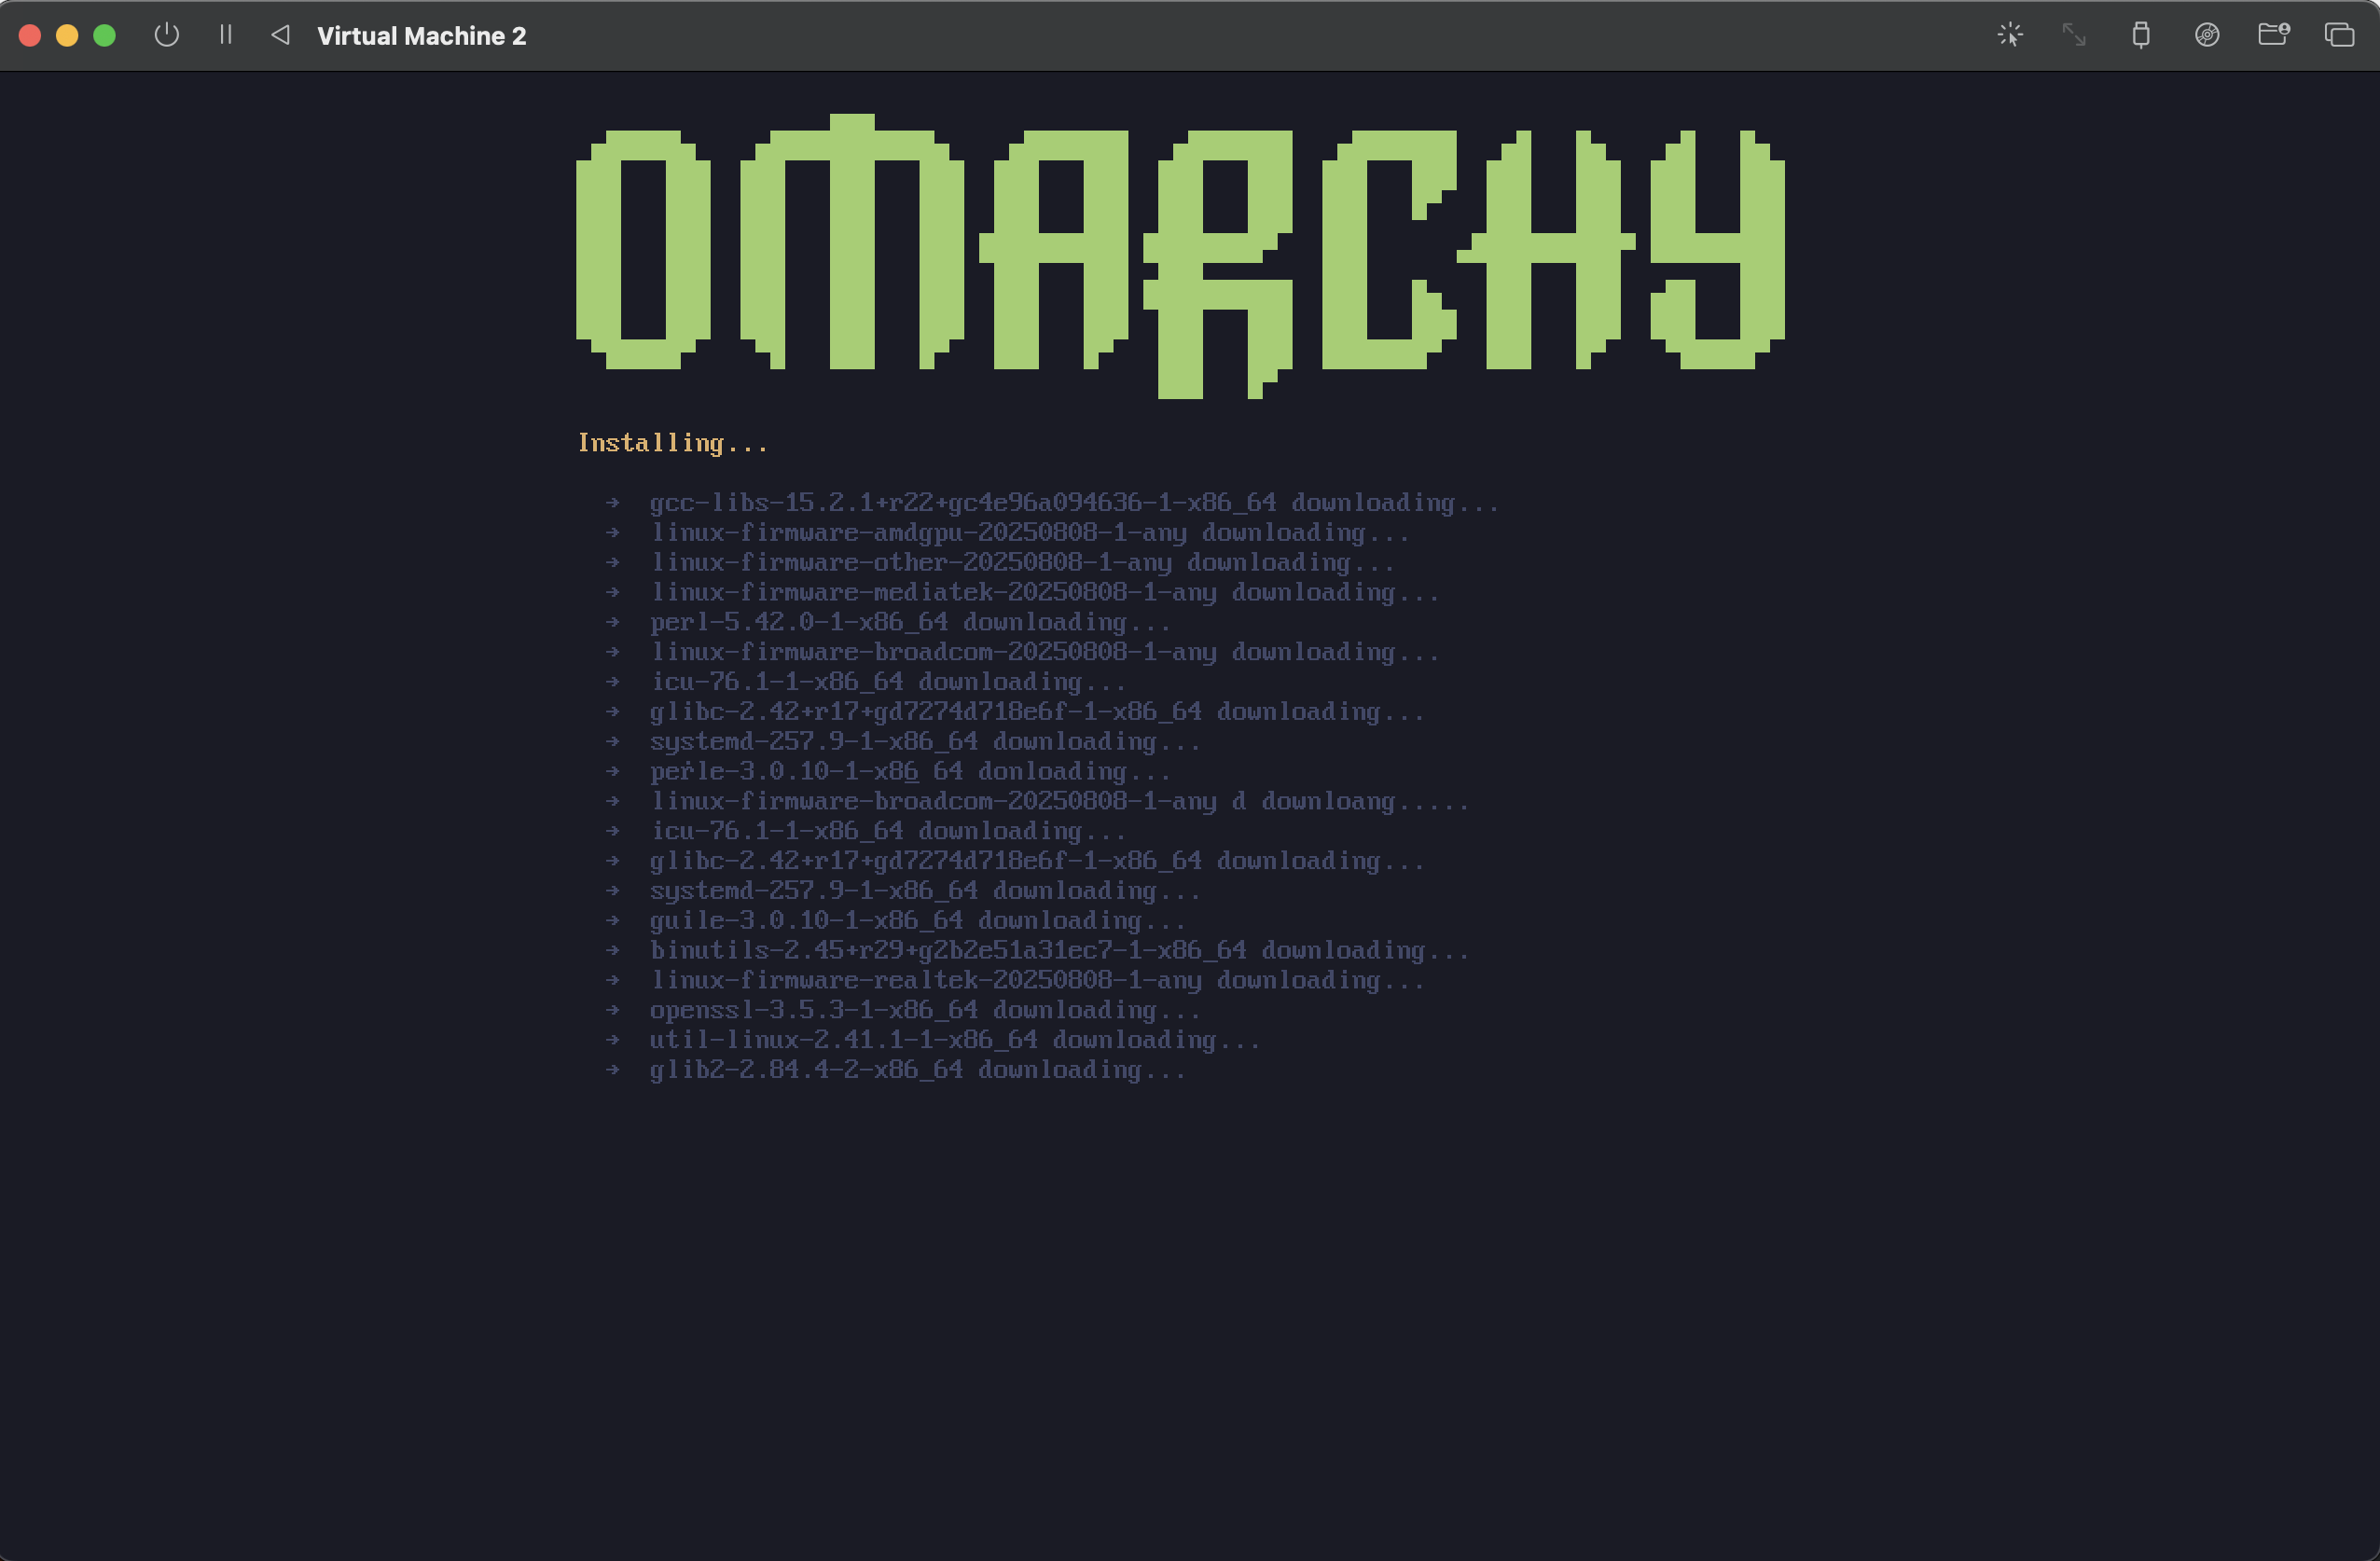
After some tinkering I got it to work!
Steps I took:
- When you create a new VM, choose EMULATE (not virtualize) and for the OS select “Other”
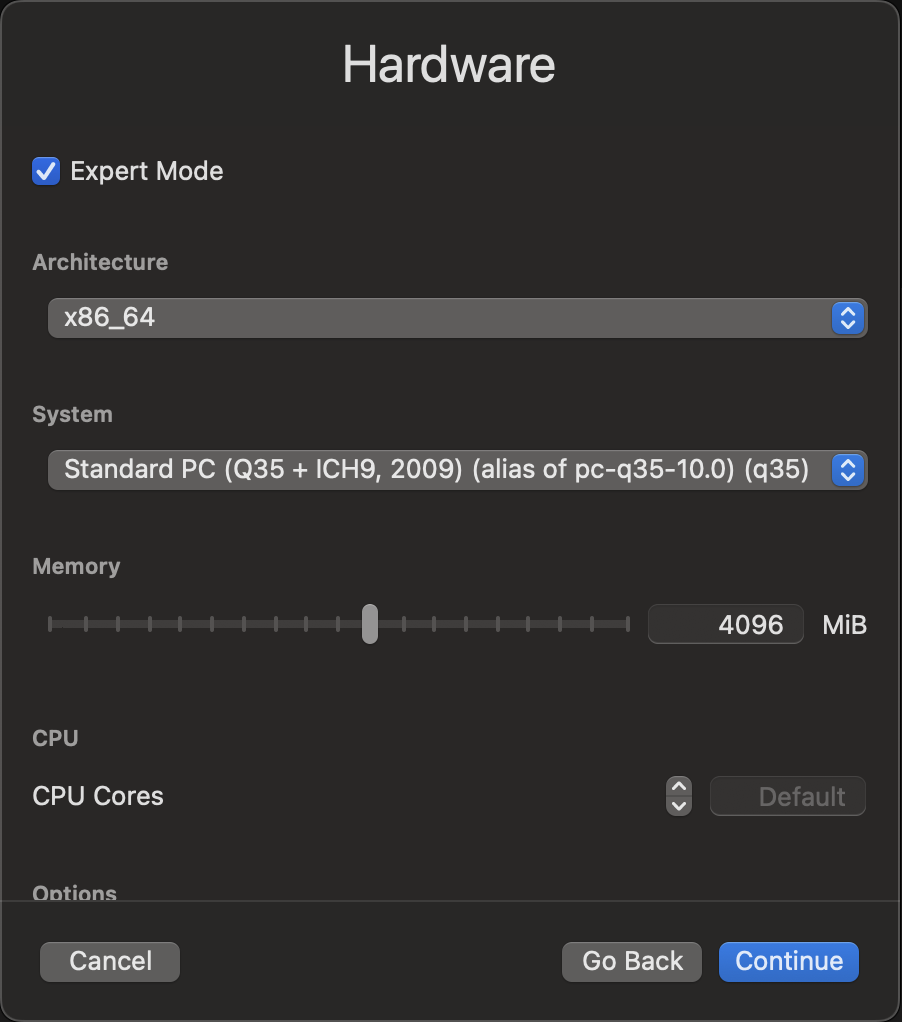
- MAKE SURE TO SET ARCHITECTURE TO
x86_64. - MAKE SURE TO SET SYSTEM TO LATEST
Q35
You need to select “Expert Mode” to see these options:
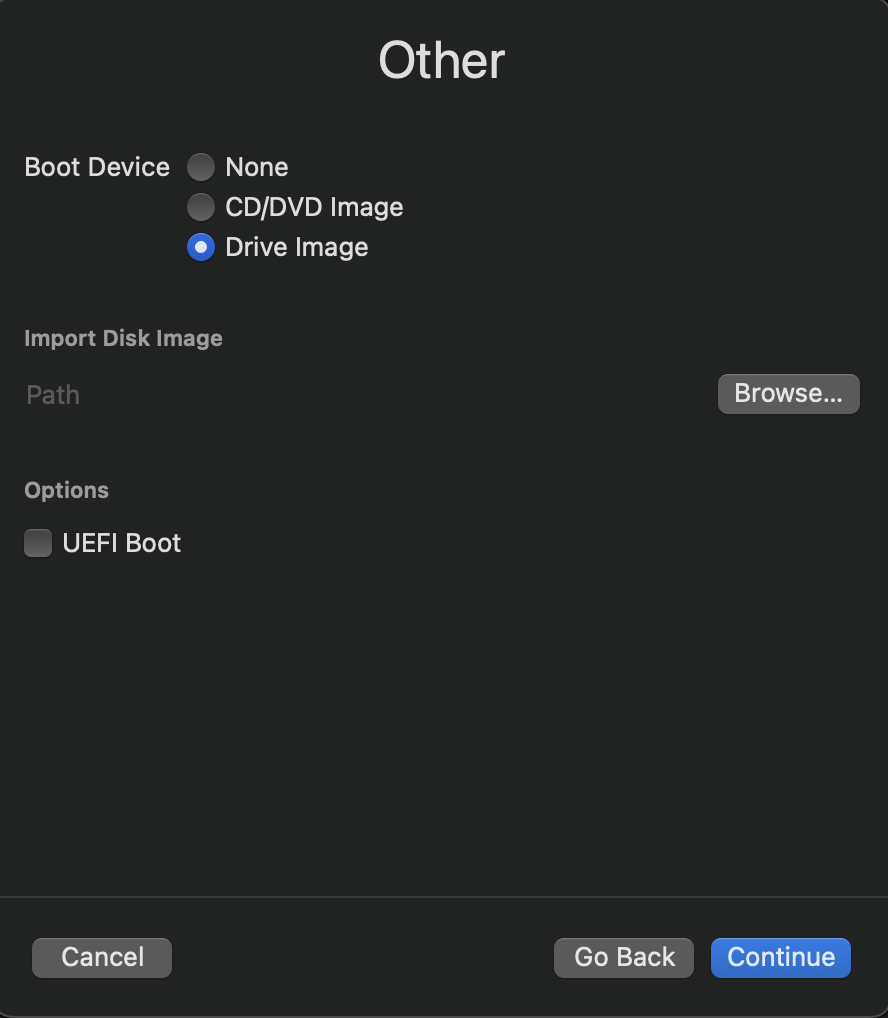
- Select the Drive Image (the ISO file from their website) and MAKE SURE TO UNCHECK UEFI (Since we want to use classic BIOS)
- Then once the VM is created, right click the VM and select “Edit”

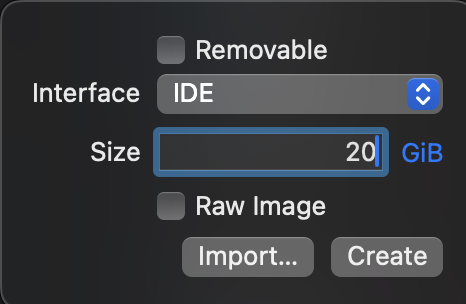
And click the “New” button at the bottom under “Drives”
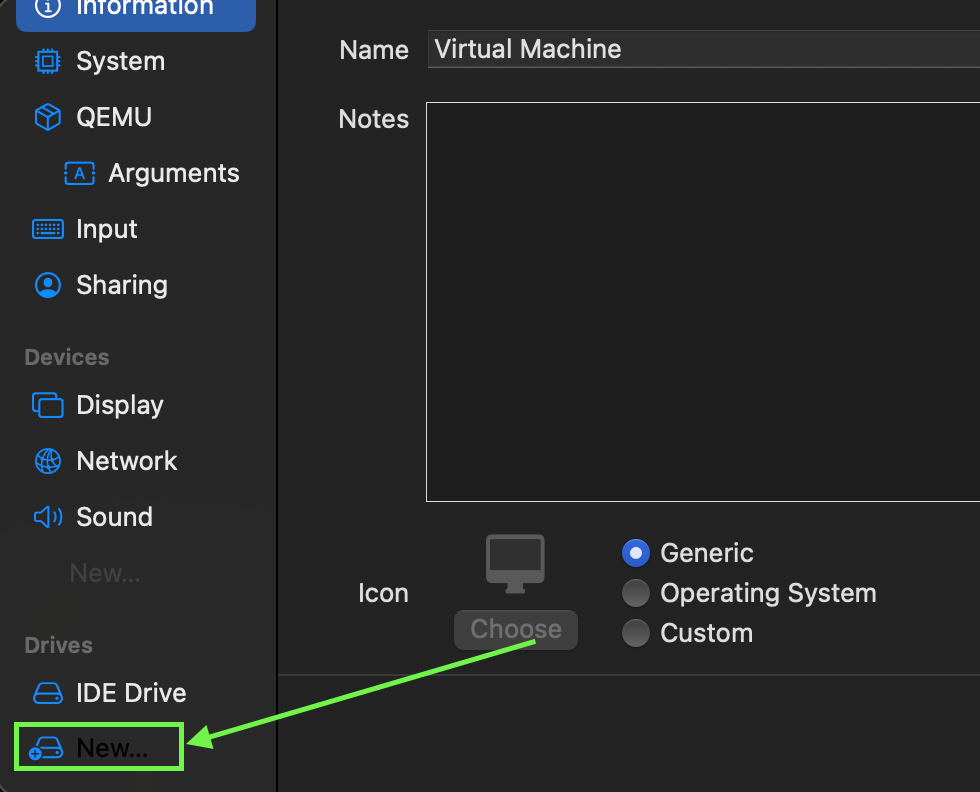
I added a 20gb drive IDE drive (I think in the future you could make this process even better by adding the ISO as a removable drive later, but for now this works)
Then finally start the VM (start from the 7BG drive) and select to install to the 20GB drive.
The install takes a while so don’t be surprised if you’re waiting a bit. (We had to virtualize the chipset instructions from ARM to x86_64)
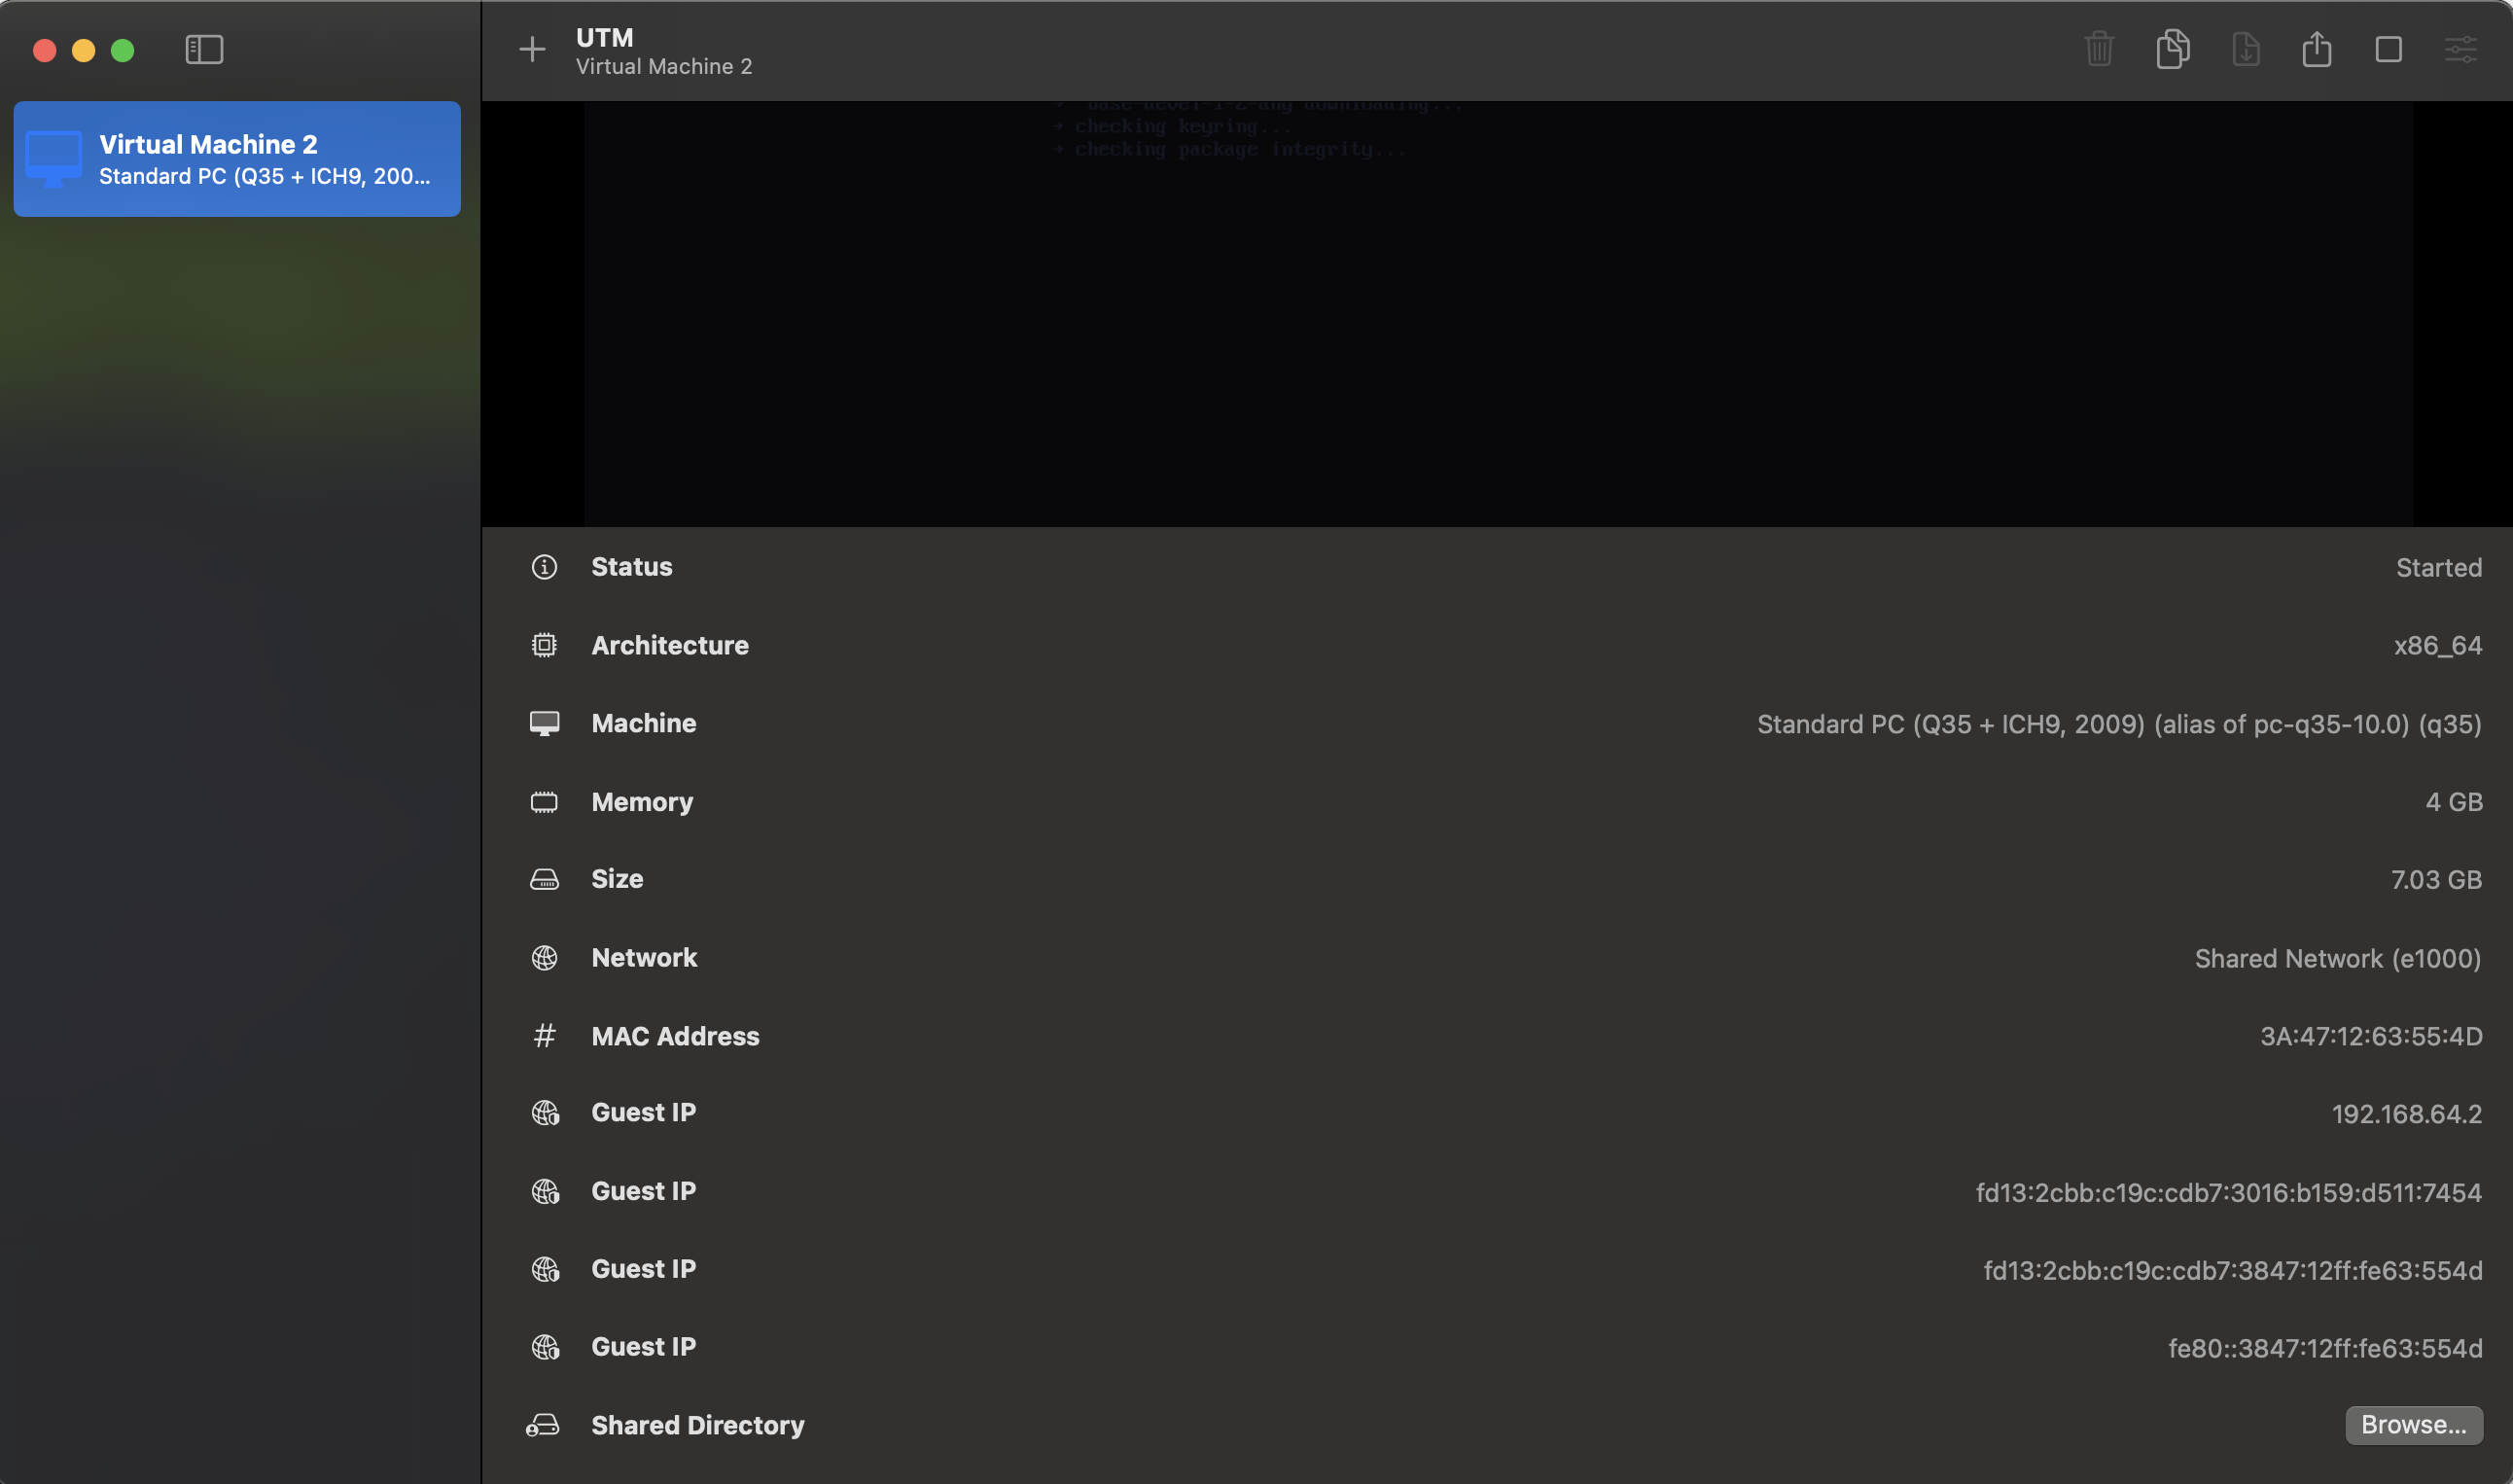
Additionally, here’s what my UTM settings look like in case it helps: